

So, you’re wondering about the cost of Honda Civic camera calibration? The short answer is, it varies. You can expect to pay anywhere from $200 to $600, sometimes even more, depending on a few key factors. This isn’t a simple, fixed-price job, and understanding why can save you some headaches and unexpected bills.
Modern Honda Civics are packed with advanced driver-assistance systems (ADAS), and many of these rely heavily on cameras. Think about features like Lane Keeping Assist, Adaptive Cruise Control, or even your automatic high beams – they all use camera input to make crucial decisions. When a camera is even slightly out of alignment, these systems can get confused, leading to unreliable or even dangerous behavior.
What Impacts Camera Alignment?
A few common scenarios can throw your Honda Civic’s cameras off-kilter:
- Windshield Replacement: This is probably the most frequent culprit. When a new windshield is installed, the camera mounted to it needs to be precisely re-aligned to ensure it’s seeing the road correctly.
- Accidents/Collisions: Even minor bumps can shift vehicle components, in turn affecting camera angles.
- Suspension Work: Changes to your car’s suspension can alter its ride height and overall geometry, demanding a camera recalibration.
- Sensor Malfunctions/Replacements: If a camera itself is replaced, or surrounding sensors that interact with it are swapped out, calibration is a must.
- Software Updates (Sometimes): Occasionally, a major software update from Honda might necessitate a calibration check.
What Happens Without Calibration?
Ignoring the need for camera calibration isn’t just about turning off a warning light. It means your safety features might not work as intended. Lane Keeping Assist could nudge you in the wrong direction, Adaptive Cruise Control might brake too late or too early, and your forward collision warning could become a nuisance with false alarms. This isn’t something to gamble with.
The Factors Driving Up Calibration Costs
As mentioned, the price isn’t set in stone. Here’s a breakdown of what influences the final bill:
Type of Camera System
Honda Civics use various camera systems, and the complexity directly impacts calibration costs.
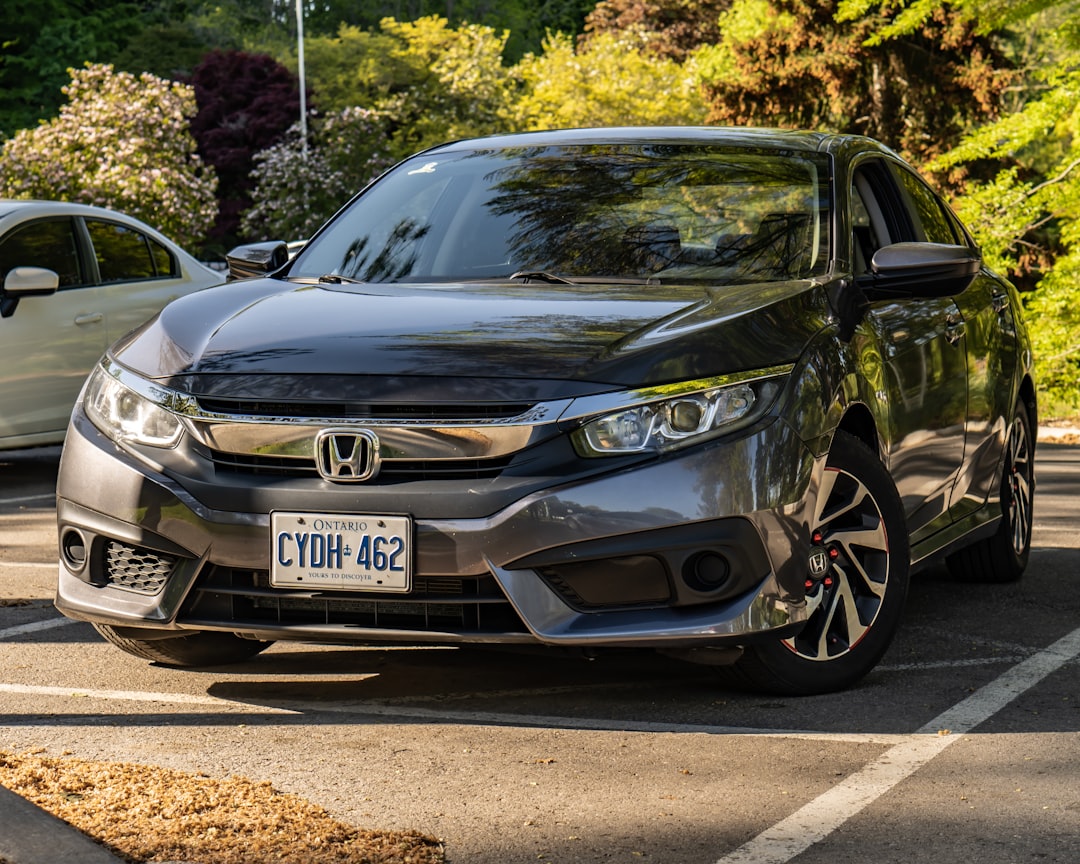
- Forward-Facing Camera (ADAS Camera): This is the main one we’re talking about, typically mounted near the rearview mirror. It’s crucial for most active safety features. Calibration for this camera is generally the most involved and thus, the most expensive.
- Rearview Camera: While important for parking, these usually don’t require the same level of precise, dynamic calibration as the forward-facing ADAS camera. If it needs calibration, it’s often a simpler affair.
- Side-View Cameras (LaneWatch, etc.): Some older Civics might have LaneWatch, which uses a camera on the passenger-side mirror. Calibration here is usually less complex than the forward-facing camera. Most newer Civics use radar for blind spot monitoring, which is a different system entirely.
Calibration Method
There are essentially two ways cameras are calibrated: static and dynamic.
- Static Calibration: This involves specialized targets placed around the vehicle in a controlled environment (like a workshop). The car’s computer uses these targets to learn the camera’s precise orientation. This method usually requires specific equipment and a dedicated space.
- Dynamic Calibration: This method involves driving the vehicle on open roads, often at specific speeds and for a certain distance. The car’s computer uses road markings, other vehicles, and environmental cues to calibrate the camera. This can sometimes be combined with static calibration.
Most Honda Civics, especially those with advanced ADAS, require a combination of static and sometimes dynamic calibration for comprehensive accuracy. The more complex the required method, the higher the cost.
Labor Costs and Time
This is a big one. Calibration isn’t just plugging in a tool and pressing a button.
- Skilled Technicians: It needs trained technicians who understand ADAS systems and the specific procedures outlined by Honda. This isn’t a job for your average mechanic without specialized training and equipment.
- Diagnostic Time: Before calibration, the technician often runs diagnostics to ensure there are no other underlying issues with sensors or wiring.
- Setup Time: Setting up the calibration targets correctly takes time and precision.
- Calibration Procedure Itself: The actual calibration process, whether static, dynamic, or both, follows Honda’s specific guidelines and can take a while to complete properly.
- Post-Calibration Testing: After calibration, the technician will often perform test drives or checks to confirm the systems are functioning correctly.
All this adds up in terms of labor hours, which are typically billed at a shops’ hourly rate.
Shop Type and Location
Where you get the work done makes a difference.
- Honda Dealerships: Generally, dealerships tend to be on the higher end of the price spectrum. They use OEM (Original Equipment Manufacturer) tools and have Honda-trained technicians, but you pay a premium for that.
- Independent ADAS-Specialized Shops: These shops focus specifically on ADAS maintenance and calibration. They often have state-of-the-art equipment and specialized technicians, and might offer slightly more competitive pricing than dealerships, while maintaining quality.
- Independent Auto Glass Shops (with ADAS capabilities): If you’re getting a windshield replaced, many reputable auto glass shops now offer in-house ADAS calibration. Their pricing can vary, but generally expect it to be bundled or slightly lower than a standalone dealership service. Crucially, ensure they have the proper equipment and training for your specific Civic model.
- General Repair Shops (beware): Unless a general repair shop explicitly advertises ADAS calibration and has invested in the necessary tools and training, it’s best to avoid them for this specific service. Improper calibration can be dangerous and lead to further issues.
Location also plays a role – shops in metropolitan areas with higher cost of living generally have higher labor rates.
What to Expect During the Calibration Process
Knowing the steps involved can help you understand the value of the service you’re paying for.
Initial Diagnostics
Before anything else, the technician will connect to your Civic’s onboard diagnostic (OBD-II) port to pull any error codes and check the status of your ADAS systems. This ensures there aren’t other underlying electrical or sensor problems that need to be addressed first.
Vehicle Preparation
For static calibration, the car needs to be positioned precisely.
- Level Surface: The vehicle must be on a perfectly flat and level surface.
- Correct Tire Pressure: Tire pressure needs to be set to manufacturer specifications, as even slight variations can affect vehicle stance and camera angle.
- Fuel Level: Some manufacturers specify a certain fuel tank level to ensure accurate weight distribution.
- No Debris: The camera lens and surrounding area must be clean and free of obstructions.
Target Placement (Static)
Specialized calibration targets are placed at precise distances and angles around the vehicle, typically in front of the forward-facing camera. These targets are specific to Honda and the particular Civic model.
Software Connection and Calibration Execution
The technician connects with specialized software that communicates directly with your Civic’s ADAS control module. This software guides them through the calibration process, using the targets to make precise adjustments or establish the camera’s new reference points.
Road Test (Dynamic, if needed)
If dynamic calibration is required, the technician will take your Civic for a drive. This involves driving at specific speeds, sometimes over a certain distance, and allowing the car’s system to learn and fine-tune the camera’s perception based on real-world conditions like lane markers.
Final Checks and Report
After calibration, the technician will re-scan the system for any fault codes and confirm all ADAS features are working correctly. They should be able to provide you with a report detailing the successful calibration.
Tips for Savvy Consumers
You don’t want to get caught off guard. Here’s how to navigate the world of camera calibration.
Get Multiple Quotes
Always call around and get at least two or three quotes. Be specific about your Honda Civic model and year, and what service you need (e.g., “forward-facing camera calibration after windshield replacement”).
Ask About the Process and Equipment
Don’t be shy to ask a shop:
- “What type of equipment do you use for Honda Civic calibration?” (They should mention specific OEM or equivalent ADAS calibration tools).
- “Are your technicians trained in ADAS calibration for Honda vehicles?”
- “Do you perform both static and dynamic calibration if required?”
- “What’s included in the price?” (e.g., diagnostics, labor, parts if any).
Verify Certifications
If going to an independent shop, look for certifications like I-CAR or specific ADAS training credentials. This indicates a commitment to proper procedures.
Understand What’s Covered by Insurance
If your camera calibration is needed after a windshield replacement or accident, it might be covered by your auto insurance. Check your policy or speak to your insurance provider beforehand. Sometimes, the auto glass company will handle the insurance claim for calibration as part of the windshield replacement.
Don’t Delay
If you have a warning light related to ADAS or a new windshield has been installed, don’t put off getting the calibration done. Your safety features are compromised until it’s properly reset.
Long-Term Maintenance and Prevention
| Camera Calibration Type | Cost |
|---|---|
| Front Camera Calibration | 200 – 400 |
| Side Camera Calibration | 150 – 300 |
| Rear Camera Calibration | 250 – 400 |
While you can’t always avoid calibration, a little care can help.
Keep Your Windshield Clean
A dirty or smudged windshield, especially in front of the camera, can interfere with its operation and potentially trigger false warnings or even system malfunctions. Use proper glass cleaner and a soft cloth regularly.
Avoid Aftermarket Modifications
Be cautious with aftermarket modifications that might block the camera’s view or interfere with its mounting. This includes things like dash cams that are poorly positioned or window tints that extend too high on the windshield.
Address Dashboard Warning Lights Promptly
If an ADAS-related warning light illuminates on your dashboard, don’t ignore it. Get it checked out by a qualified technician as soon as possible. Sometimes it’s a minor glitch, other times it means a critical safety system isn’t working.
In conclusion, paying for Honda Civic camera calibration isn’t an exciting expense, but it’s a non-negotiable one for maintaining the safety and functionality of your vehicle’s advanced features. By understanding the factors that influence the cost and knowing what to ask, you can ensure you’re getting a quality service at a fair price. Drive safe!