

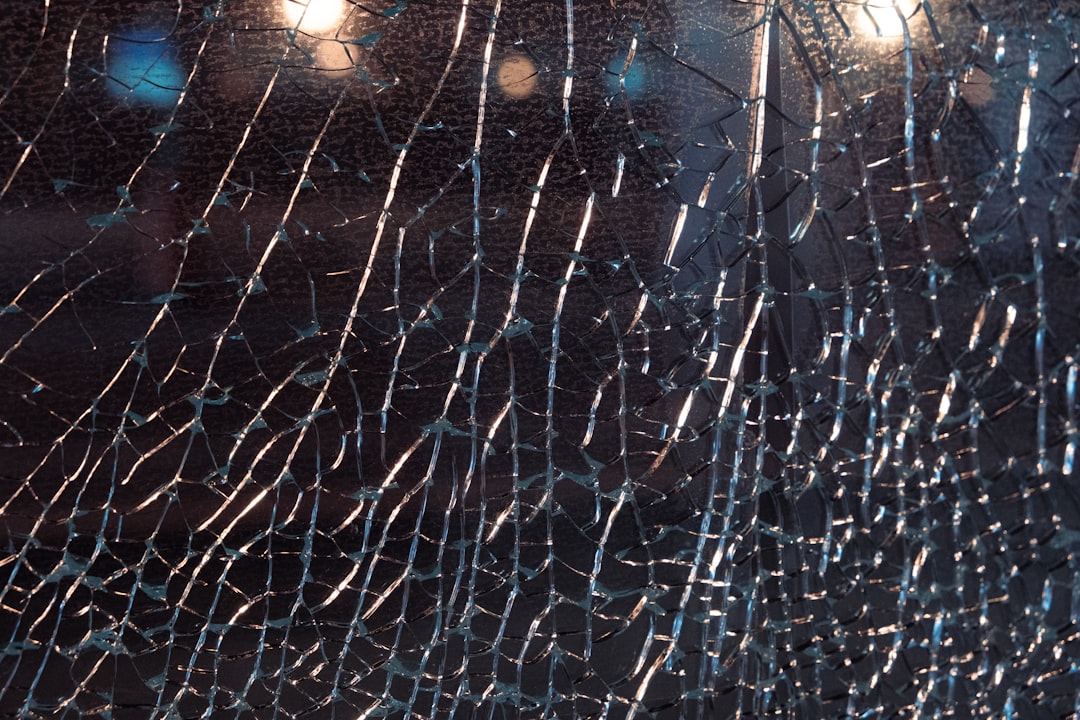
I’m not going to lie, seeing that spiderweb crack bloom across my windshield was a punch to the gut. It wasn’t a catastrophic impact, just a seemingly insignificant pebble flicked up from a truck on the highway. Within hours, though, that tiny chip had morphed into a clear, undeniable fracture, a constant reminder of impending trouble. My immediate thought, after the initial annoyance, was the cost. Replacing a windshield isn’t exactly a pocket-change expense, and I drive an older, modest vehicle. My budget, like many, is tighter than a drum, and dropping hundreds of dollars on a car repair felt like a luxury I couldn’t afford. This realization spurred me to investigate alternatives, to see if there was a way to address this problem without breaking the bank.
Before I even considered attempting a repair myself, I needed to realistically assess the extent of the damage. Not all cracks are created equal, and some will unequivocally require professional intervention, no matter how tight your wallet. This initial assessment is crucial; attempting a DIY fix on a crack that’s too severe can lead to further damage, making a professional repair more complex and expensive, or even necessitating a full replacement.
The Size and Shape of the Fracture
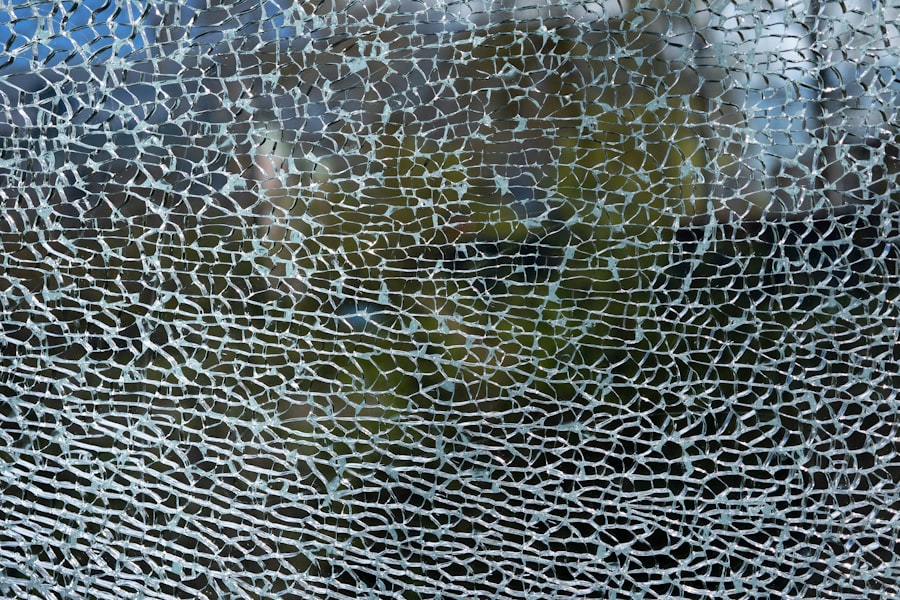
The first thing I looked at was the size and shape of the crack. My initial chip was small, no larger than a quarter. It was a star-shaped fracture, with several small legs branching out from the main impact point. This type of damage, often referred to as a “bullseye” or “star break,” is generally considered repairable. Large, long cracks, however, are a different story. I’d heard from friends and seen online that cracks longer than, say, six inches, or chips that have penetrated through both layers of the glass, are usually not candidates for repair. If the crack has caused delamination (where the layers of the windshield have separated), that’s also a red flag.
The Location of the Crack
The placement of the crack also plays a significant role. My crack was fortunately located in a less critical area of the windshield, away from the driver’s direct line of sight. Cracks that extend into the driver’s immediate field of vision are generally not repairable for safety reasons. This is because even after a repair, the distortion caused by the filled crack might still be noticeable and could impede clear vision, especially when driving at night or in adverse weather conditions. Furthermore, cracks near the edges of the windshield can compromise the structural integrity of the glass and the vehicle body, making them more prone to further damage or failure.
The Depth of the Damage
I ran my fingertip gently over the impact point. The chip was confined to the surface, I could feel a slight indentation, but it didn’t feel like it had gone all the way through the glass. Most windshield repair kits are designed to fill surface-level damage. If the glass is completely shattered or has multiple layers compromised, these kits won’t be effective. It’s important to note that some kits might suggest they can handle deeper damage, but it’s wise to be skeptical. The goal of a windshield repair is to prevent the crack from spreading and to restore some structural integrity, not to make the damage completely disappear.
Exploring DIY Repair Kits: The Budget-Friendly Solution
Once I was confident that my crack was within the realm of DIY repair, I started researching the available options. The market is flooded with windshield repair kits, and the prices vary considerably. My goal was to find a kit that was effective but also affordable.
Understanding What’s Inside the Kit
Most DIY windshield repair kits contain a few key components. There’s typically a resin, which is a clear, acrylic-like liquid that fills the crack. Then there’s an applicator, often a suction cup device that allows you to apply pressure and force the resin into the damaged area. Curing strips, usually clear plastic, are also included to hold the resin in place while it dries. Some kits offer a razor blade for scraping away excess resin. I paid close attention to the type of resin offered. Some were single-component systems, while others had a two-part resin that requires mixing. The more complex systems sometimes purported to offer a stronger, more durable repair.
Choosing the Right Kit for Your Need
Based on my research, I decided to opt for a mid-range kit. I read numerous reviews, comparing the effectiveness of different brands for star breaks and small chips. I avoided the cheapest options, as they often contained inferior resin or flimsy applicators. Likewise, I dismissed the most expensive kits, which were often priced for professional use and included features I didn’t need. I looked for kits that specifically mentioned their suitability for star breaks and chips, and that had a good number of positive customer testimonials regarding ease of use and durability of the repair.
The Application Process: A Step-by-Step Guide
When the kit arrived, I carefully read the instructions. The process, in essence, involves cleaning the damaged area thoroughly, then using the applicator to create a seal around the chip. The resin is then injected, and pressure is applied to force it into the crack. Finally, a curing strip is applied, and the resin is cured, usually by sunlight or a UV light.
Cleaning the Area
This step is non-negotiable. Any dirt, debris, or moisture left in the crack will prevent the resin from adhering properly, leading to a failed repair. I used a clean microfiber cloth and a glass cleaner to thoroughly wipe down the area around the chip. I also made sure to get into the actual fracture as best I could with a toothpick to dislodge anything trapped within.
Positioning the Applicator
The applicator is the most crucial part of the kit. It’s designed to create a vacuum seal over the damaged area and then allow for the resin to be injected under pressure. I followed the manufacturer’s instructions meticulously for attaching the suction cups and pedestal. It’s important to get a good seal so that the resin doesn’t leak out.
Injecting the Resin
This is where the magic (or lack thereof) happens. I carefully followed the instructions for loading the resin into the applicator chamber. Then, I slowly turned the screw mechanism to inject the resin into the crack. I watched closely to see if the resin was flowing into the fracture lines. This is a patient process; you can’t rush it. I allowed the applicator to sit for the recommended time to ensure maximum resin penetration.
Curing the Resin
Once the resin was in place, I applied the curing strip. The sunlight is the most common curing agent for these kits. I parked my car in direct sunlight for the duration specified in the instructions. This allows the resin to harden and bond with the glass. Some kits come with a small UV light, which can be useful if you don’t have access to prolonged direct sunlight.
When DIY Isn’t Enough: Recognizing Limitations
Despite my best efforts and the success of my DIY repair for the initial chip, I know there are situations where I’d have to swallow my pride and my budget concerns and seek professional help. It’s crucial to be honest with yourself about what you can and cannot achieve with a DIY kit.
The Severity of the Damage
As I mentioned earlier, some cracks are simply too large or too deep to be effectively repaired by a DIY kit. If the crack has affected the structural integrity of the windshield, or if it’s so extensive that it compromises visibility, a professional repair is the only safe option. Attempting to repair a severely damaged windshield with a DIY kit could lead to further cracking and a more dangerous situation.
The Location of the Crack (Revisited)
While my crack was in an acceptable location, I’ve seen windshields with damage directly in the driver’s line of sight. These are non-negotiable. Even the best DIY repair will leave some level of distortion. For safety reasons, these require professional attention. A professional might be able to perform a repair that minimizes distortion, or they might determine that a full replacement is the only viable solution.
Your Own Comfort Level and Skill
Let’s be frank, not everyone is comfortable with applying adhesives or working with small, fiddly components. If the thought of attempting this kind of repair fills you with dread, it’s probably best to leave it to the professionals. A botched DIY repair can end up costing you more in the long run. My own comfort level was reasonably high because I’m generally handy, but I also recognized the potential for failure and had a backup plan.
Cost-Saving Alternatives to Full Replacement

If you’ve reached the conclusion that a DIY fix isn’t for you, or if your damage is beyond the scope of a DIY kit, all is not lost. There are still ways to manage the cost of windshield repair without resorting to an immediate, full replacement, assuming a professional repair is indeed possible.
Professional Chip and Crack Repair Services
This is often the most viable alternative to DIY for more significant damage. Many auto glass shops offer chip and crack repair services that are significantly less expensive than a full windshield replacement. They have the specialized tools and resins to effectively fill and seal different types of damage. It’s worth calling around to get quotes for this service. You might be surprised at how affordable it can be compared to buying a whole new windshield.
Insurance Coverage: Filing a Claim
I know a lot of people avoid filing insurance claims for small damage to avoid potential premium increases. However, many auto insurance policies include comprehensive coverage that covers windshield damage, often with a very low or even zero deductible for repairs. It’s always worth checking your policy or calling your insurance provider to see if your windshield repair is covered. Sometimes, they might even waive the deductible for repairs, as it’s more cost-effective for them than paying for a full replacement down the line.
Exploring Mobile Repair Services
Some companies offer mobile auto glass repair services. This means they come to your home or workplace to perform the repair. This can save you time and the hassle of taking your car to a shop. While the service might be slightly more expensive than a shop-based repair, the convenience factor can be worth it, especially when trying to balance your budget with your time constraints.
The Long-Term Perspective: Prevention and Maintenance
| Service Provider | Cost | Time to Fix |
|---|---|---|
| Local Auto Shop | 150 | 1 hour |
| National Chain | 200 | 2 hours |
| Mobile Repair Service | 250 | 1.5 hours |
Once I’d addressed the immediate issue of my cracked windshield, I started thinking about how to avoid this situation in the future. A little preventative thinking can go a long way in saving both your windshield and your wallet.
Maintaining a Safe Following Distance
This is probably the most obvious, yet often overlooked, preventative measure. Maintaining a safe distance from the vehicle in front of you significantly reduces the risk of being struck by debris. Gravel, small rocks, and other road hazards are often kicked up by larger vehicles, and the further back you are, the less likely you are to become a victim. I’ve made a conscious effort to increase my following distance, especially on highways and on roads known for construction.
Avoiding Damaged Roads When Possible
I’ve also become more mindful of the roads I drive on. Pothole-ridden streets and roads with loose gravel are breeding grounds for windshield damage. If I have the option, I’ll reroute to a smoother, better-maintained road, even if it adds a few minutes to my journey. It’s a small inconvenience that can prevent a significant repair bill.
Regular Windshield Inspection
I now make it a habit to quickly inspect my windshield every few weeks, especially after a long drive or exposure to rough road conditions. A quick glance for any new chips or tiny cracks can allow me to address them when they are small and most easily repaired. This proactive approach has saved me a lot of potential headaches and expenses.
In conclusion, a cracked windshield doesn’t have to be a financial catastrophe. By carefully assessing the damage, exploring budget-friendly DIY options, understanding the limitations of such repairs, and considering cost-saving alternatives, it’s often possible to address the problem without resorting to an expensive full replacement. And by adopting a more cautious and preventative approach to driving, I’m hoping to keep my windshield crack-free for the foreseeable future.